What is wall putty & how to use it the best way?

What is wall putty & how to use it the best way?

TABLE OF CONTENTS

What is Wall Putty?

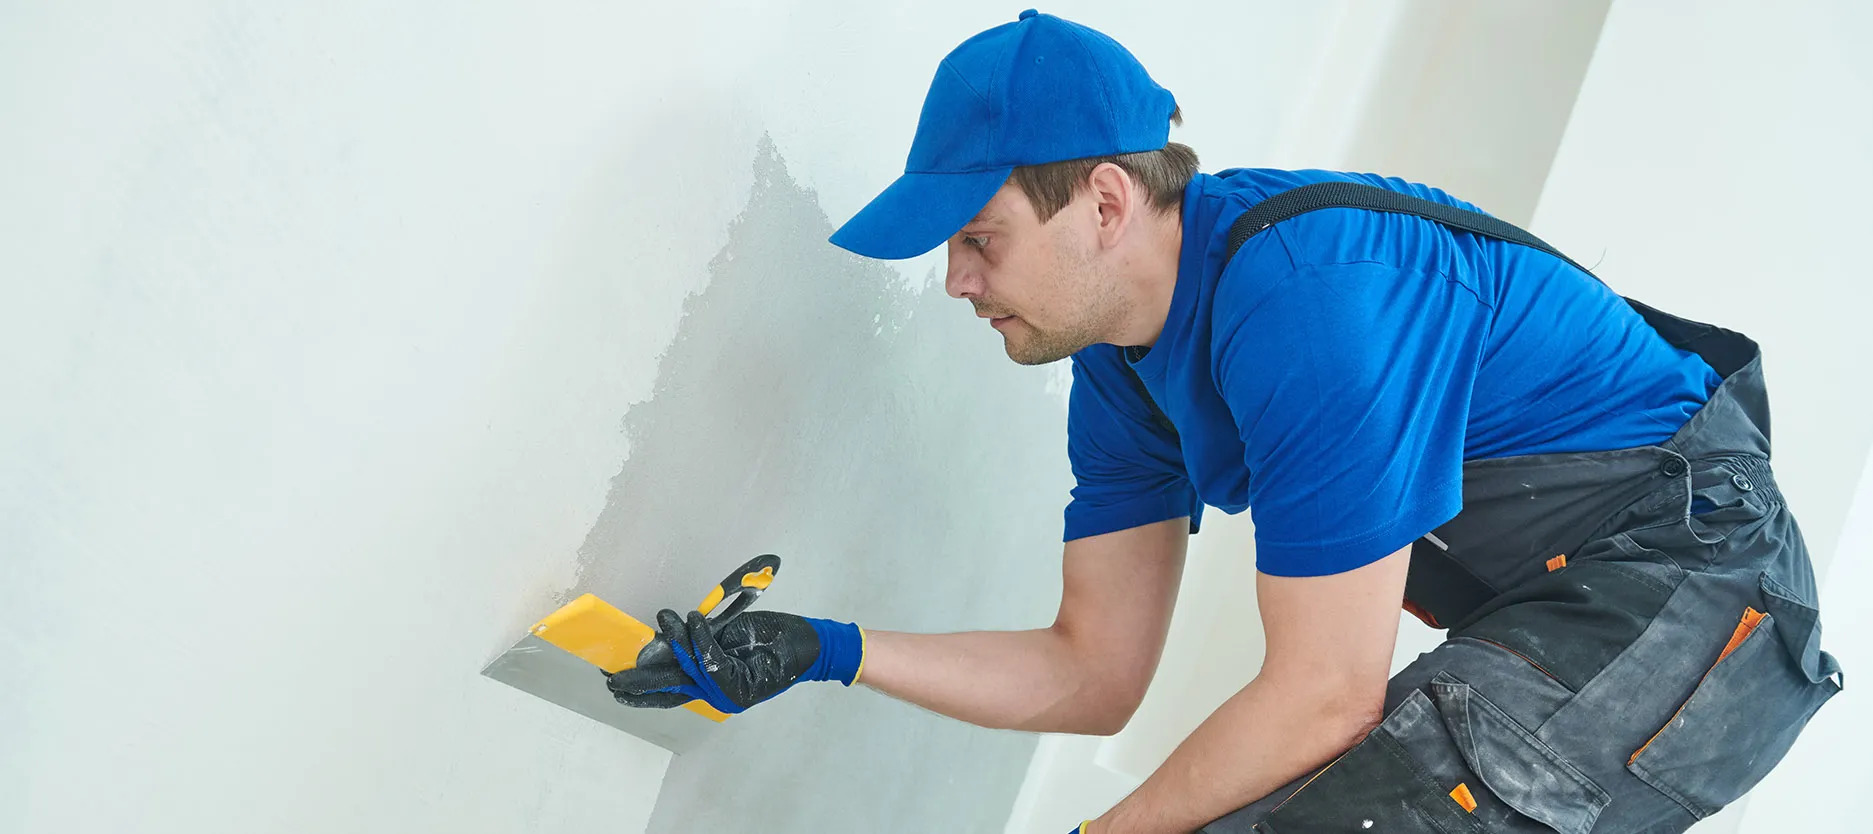
Wall putty is a white cement-based powder made of polymer and other minerals that make the wall look smoother. It is primarily used to fill in cracks and holes in walls and prepare an even wall surface before applying paint. Using wall putty helps to provide better protection against stains, mould & cracks for your walls.

Wall putty is a versatile material that can be used on any wall, from precast walls to concrete and even rendered walls, providing the best paint and wall finish. Also referred to as paint putty, wall putt is usually applied before you paint the walls, as this helps better cover up cracks and holes that may otherwise obstruct the smooth application of wall paints. Depending on the surface, it may take 1-2 coats of painting putty coupled with sanding to make the surface ready for new paint.

If your house has recently experienced damages or water leaks in certain areas (such as flooding), then you should consider using wall putty to restore its structural integrity. Wall putties are available in white/off-white textures; hence they will provide a perfect base for you to paint on.

Types of Wall Putty

There are two types of wall putty:

  1. Cement Wall Putty:

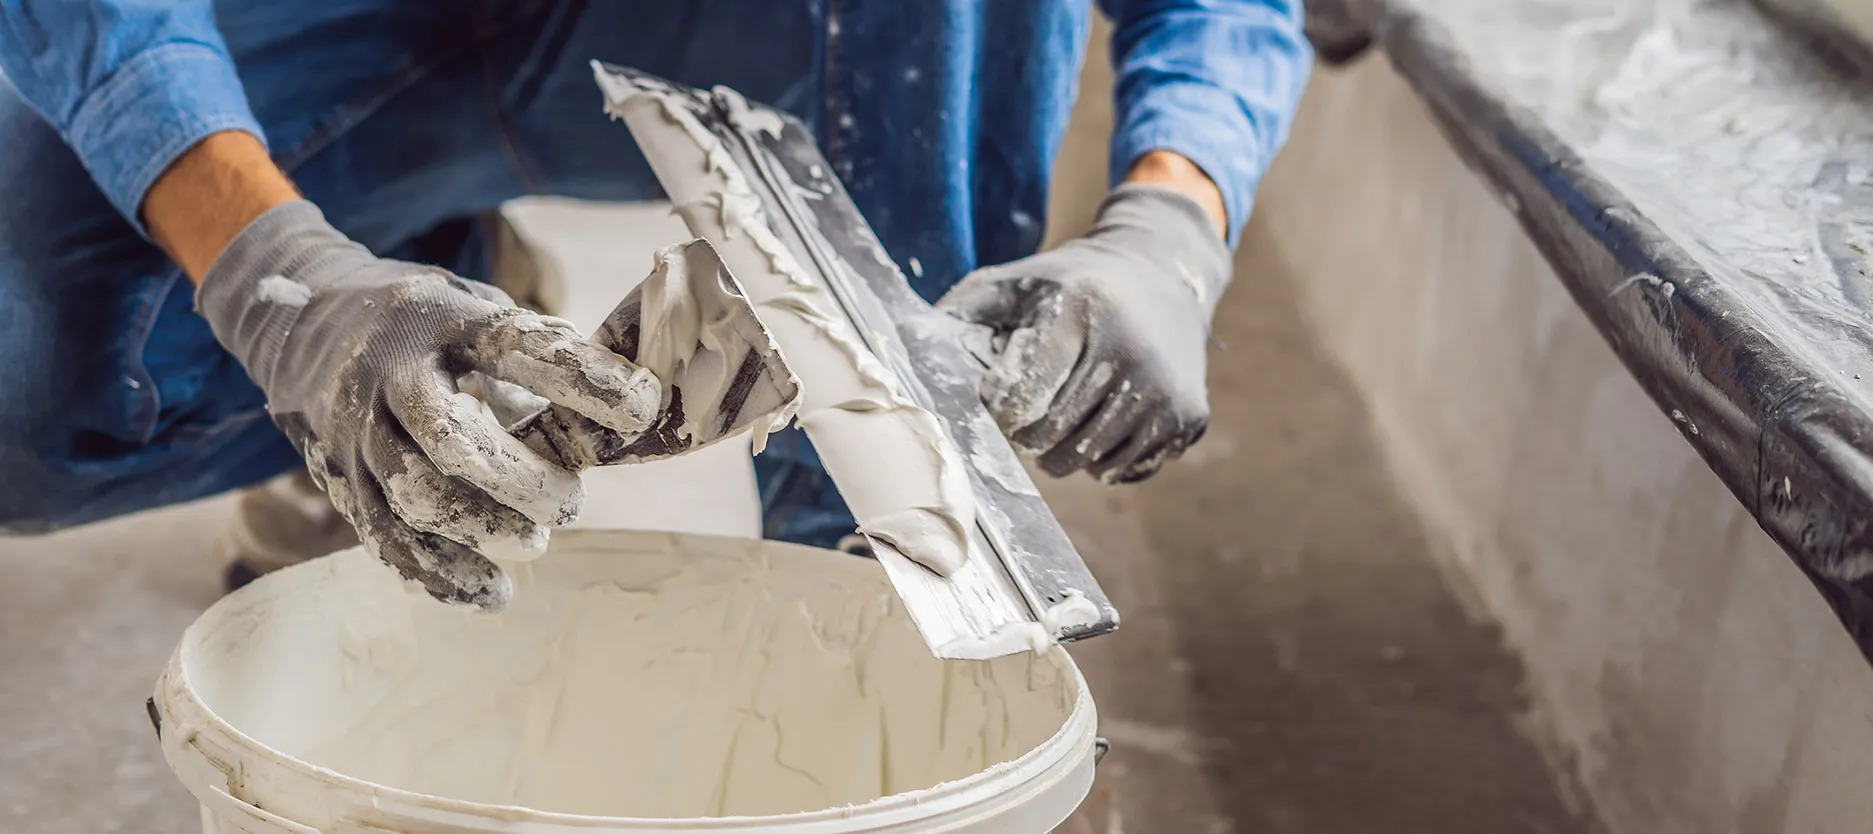
    Cement-based putties or cement putty are mainly used for repairing concrete and masonry surfaces. They are available in powder form and need to be mixed with water before use. The consistency should be that of peanut butter (i.e., not too runny or overly thick). You will then need to apply it with a putty knife and let it dry for about a day before painting the wall.

    Also read: What is the difference between wall putty and white cement??

  2. Acrylic Wall Putty:

    Acrylic-based putties or acrylic putty can be used on both plaster and drywall surfaces and are available in either a ready-to-use or powder form. They usually have a smooth finish and are tintable, so you can get the same colour as your wall paint. The only downside is that they are not as durable as cement putties and may chip or crack over time.

All of these wall putties have their own unique benefits that make them more suitable for certain applications. For instance, cement-based putties tend to form a harder surface than other types once they've dried out. On the other hand, acrylic latex-based putties are known for being easy to use and quick drying.

What is wall putty & how to use it the best way?


How to Use Wall Putty?

Before we learn how to apply wall putty paint, select and decide which putty is best for your walls. Here's a step-by-step guide on how to use wall putty correctly:

  1. First, you need to decide whether your surface is plaster or drywall. If it is either of these two surfaces, then an acrylic putty will work best for you.

  2. Next, wash and clean the area. You should remove any loose debris from the area before applying wall putties.

  3. Then mix and apply the wall care putty properly to ensure the best results. Depending on what kind of material you're using (powder/ready-made), mix it according to its instructions and apply it with a wide flat blade knife in one direction. For powder types, let them sit for at least 24 hours so that they can harden and be ready for painting.

  4. Once your wall is ready, you can use a sponge or brush to apply the paint on top of it. Paint putty is a necessary step in creating a flawless wall finish. By using the right type of putty and following these simple steps, you can ensure that your walls will look good as new!

    Also read: How to make walls alive & flawless with wall putty?

Benefits of Using Wall Putty

There are many benefits of using wall putty, such as:

  1. Repairing cracks and damages on walls:

    Wall putty paint can be used to fill up cracks that are caused by damages or water leaks. This will help restore the structural integrity of your wall, which is especially important if you're planning on selling your home in the near future.

  2. Providing a base for new paint:

    If you're planning on painting your walls, then you will need to use wall putty as a base coat. This will help the paint better cover up any imperfections on the surface and give it a smooth finish.

  3. Improving insulation:

    Wall care putty can also be used to improve the insulation of your home by filling in any gaps or cracks that may exist between the wall and the frame. This will help keep your home warm in winter and cool in summer, leading to lower energy bills.

  4. Easy to use and apply:

    Wall putty is very easy to use and apply, which makes it a great DIY home repair solution. You can even tint them to create your own custom colour if you want!

  5. Quick-drying time:

    Wall putties dry within 24 hours, making this process quick and hassle-free. This will allow you to get back to using your wall quickly after applying the putty.

  6. Resistant to moisture:

    Wall putties are resistant to moisture and will not crack or peel over time. This makes them a great choice for bathrooms and kitchens where moisture is common.

  7. Wall putty doesn't flake or get easily damaged:

    Wall putties are made from heavy-quality polymers and other minerals that won't chip or crack as easily as paint. Plus, they can even be used on walls with extreme temperature changes to prevent cracking and peeling.


What is wall putty & how to use it the best way?


Steps to Follow when Applying Putty for Wall

Here are a few tips / guidelines to follow when applying wall putty paint:

  1. Sand the surface before you start. This will help the putty to stick better to the wall and provide a smoother finish.

  2. If there are any holes or cracks, use a screwdriver or a thin wire to remove any dirt or debris before filling them with putty.

  3. Start in one corner and work your way out. Applying the putty in this way will help avoid any bubbles or wrinkles from forming on the surface.

  4. Make sure that the putty is applied evenly. Use a trowel or spatula to make sure that the putty is spread out evenly and there are no lumps or bumps.

  5. Apply a second coat if necessary because it will help get rid of any bubbles or wrinkles.

  6. Make sure that the blade knife is sharp while applying the putty so that you can easily glide across its surface for an even application

  7. Let it dry for at least 24 hours before painting. Waiting for it to dry completely is essential so that the paint doesn't chip off over time.

  8. Sand the surface again to smoothen it out before applying paint.


Nerolac Paints, a leading paint company in India offers a wide range of wall paint colours & painting services & solutions for homes & offices.

Get in Touch

Looking for something else? Drop your query and we will contact you.

FAQs

Can we paint the wall directly without putty?

Paint can be applied directly on the wall without putty, but it will not give you a smooth finish. Also, paint is often more expensive than putty, so this may not always be an economical choice.

Is primer necessary before wall putty?

Primer is not necessary before wall putty, but it is recommended in order to achieve the best results. Primer will help to seal any cracks or imperfections on the surface and give the putty a better adhesive grip. This will help ensure that the putty doesn't peel or chip over time.

How many coats of wall putty is required?

It depends on the condition of your wall and how much coverage you want. Follow the instructions carefully and apply as many coats as needed to achieve a smooth surface before painting or applying wallpaper.

Is paint necessary after putty? Can you leave putty unpainted?

It is not necessary to paint putty, but you can if you want a different colour on your wall. Putty will stick well with the surface and protect it from moisture damage as long as it's applied correctly.

Is wall putty durable?

Wall putties are very durable and will provide long-lasting results. They can last for several years without chipping or peeling if applied correctly using the right materials.

Is wall putty waterproof?

Wall putties are waterproof and will not crack or peel over time. This makes them a great choice for bathrooms and kitchens where moisture is common.

How to remove wall putty?

Wall putty can be removed by using a nail and a hammer. Gently chip away the surface and give it thorough sand. You can also use a blade knife and score it in a criss-cross motion.

How long does wall putty last?

Wall putty will last for several years if applied correctly and without any damage. The lifespan may vary depending on the quality of the putty, how often it's used, and the environment it's subjected to.

Can you apply putty on exterior walls?

Yes, putty can be applied on exterior walls, but it is not recommended for areas that are exposed to harsh weather conditions. Make sure to use a putty that is specifically designed for exterior use and follow the instructions carefully.

Can putty be applied on wet walls?

No, you cannot apply wall putty on wet walls. Wait for the wall to completely dry before applying putty, or else it will not stick properly and may cause damage in the future.

Which wall putty is best for walls?

Putty which is best for your walls is the one that provides smooth finish, has a short drying time, does not flake and does not have a foul smell. If you are searching for which putty is best for walls then Nerolac Acrylic Wall Putty and Nerolac Cement Wall Putty are one of the best putty for your walls that are highly recommended. They will help your paint to last for years and enable you to get long-lasting paint job for several years if applied correctly.

Get in Touch

Looking for something else? Drop your query and we will contact you.
  • Get in Touch
  • Store Locator
  • Download App
×

Get in Touch

Looking for something else? Drop your query and we will contact you.