

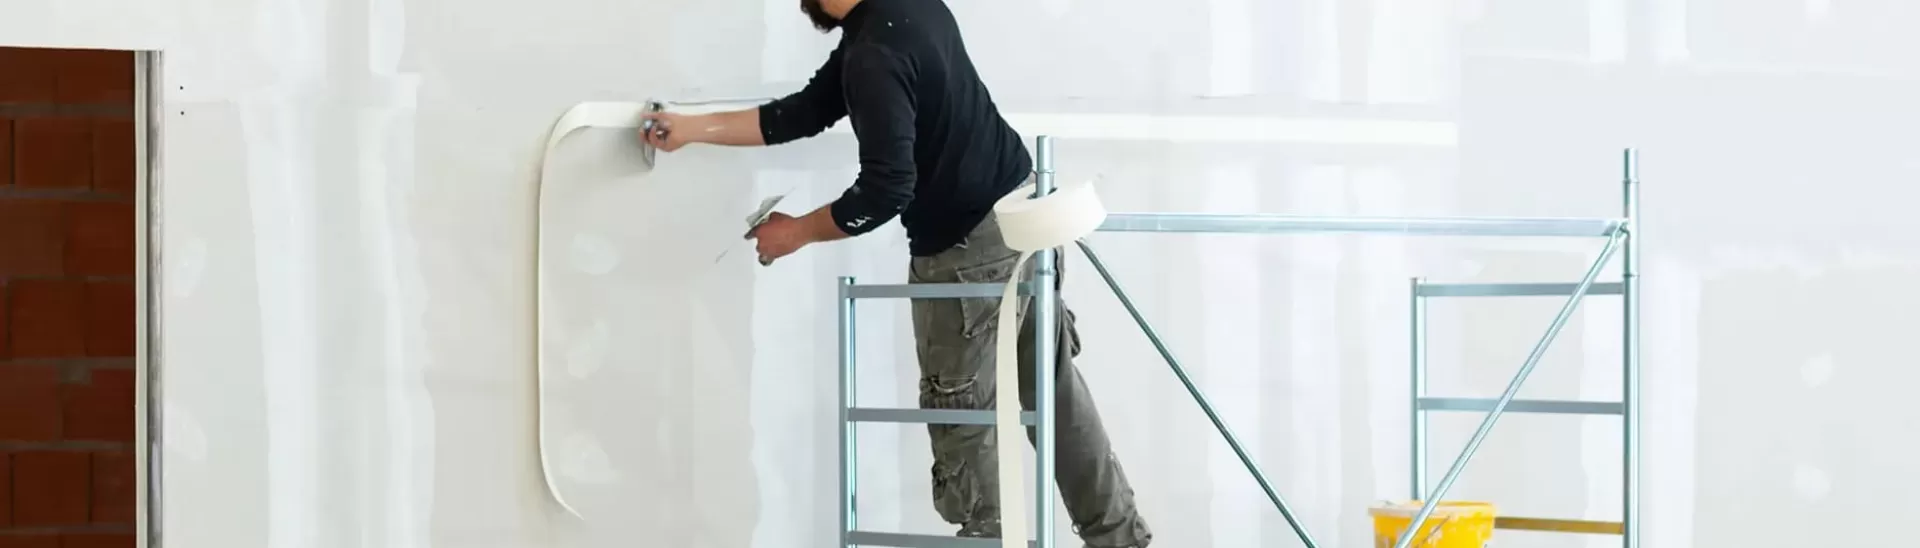
How to apply wall putty & precautions to take when applying putty
Published: 27 Jan 2022 | Modified: 28 Oct 2026
Quick Summary
To apply wall putty correctly, clean and dampen the wall, mix the putty to a smooth paste, and spread a thin first coat with a putty blade, then a second coat after it dries. Following precautions while applying wall putty, like avoiding thick layers and allowing enough wall putty drying time before painting, prevents cracks, flaking and uneven paint finishes later.

Create Your Dream Home With Our Painting Experts
Fill the form below to book a free site evaluation by Nerolac Nxtgen painting Services expert
TABLE OF CONTENTS
Key Takeaways
- Always clean and lightly dampen the wall before starting putty application.
- Mix putty in small batches and use it within its recommended working time.
- Apply two thin coats rather than one thick coat to avoid cracking.
- Allow each coat to dry fully before sanding with fine emery paper.
- Respect the drying time before painting and always apply primer over putty.
- Avoid putty on damp or seepage-affected walls until the moisture issue is fixed.
Nerolac Paints, a leading paint company in India offers a wide range of wall paint colours & painting services & solutions for homes & offices.
-
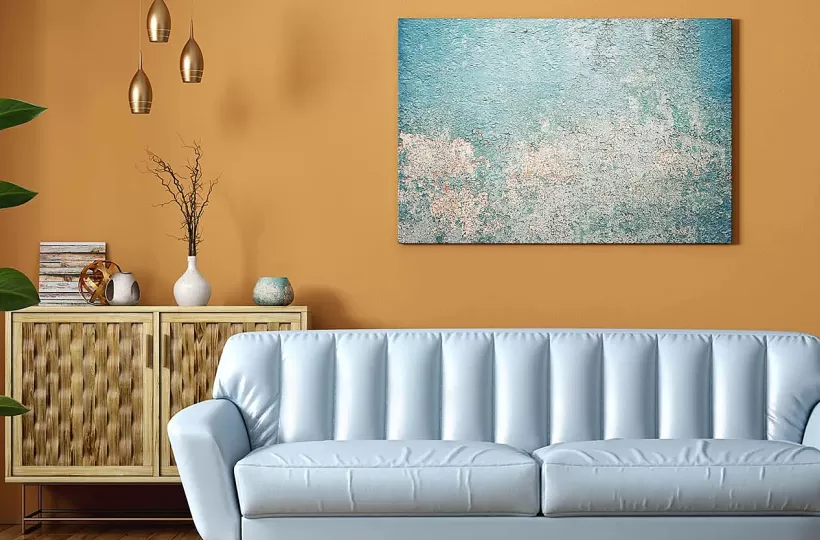
Best Colour Combination For Walls To Elevate Your Home Interiors Best Colour Combination For Walls To Elevate Your Home Interiors
Intoduction:In 2025, harmonious colour schemes for individuality and…
-

Best Green Colour Combinations for Walls – Schemes & Design Ideas Best Green Colour Combinations for Walls – Schemes & Design Ideas
Introduction:Green has long been a favourite choice in home decor…
-

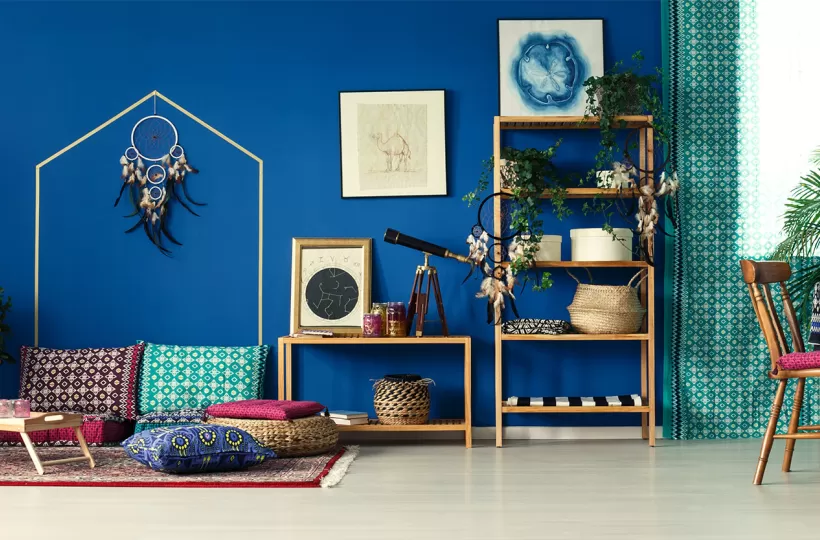
What Colours Match with Blue? 14 Colour Combinations with Blue for Your Home What Colours Match with Blue? 14 Colour Combinations with Blue for Your Home
Blue is a universally popular colour for décor and design; choosing a colour…
-
Recent Blogs
- Wooden House Design: 8 Kashmiri-Inspired Ideas for Warm and Elegant Homes
- Kashmiri Home Interior Design: 5 Ideas to Bring Kashmir's Beauty Into Your Home
- 7 Beautiful Kashmiri Home Design Ideas Inspired by Noor-e-Kashmir
- Cloud Dancer Colour of the Year – Meaning, Combinations, Interior Ideas and Trends
- How To Make Yellow Colour: Tips for Perfect Wall Paint Shades & Home Décor Ideas
-
Get in Touch
Looking for something else? Drop your query and we will contact you.
FAQs
What are the steps to apply wall putty?
First scrape off loose paint and dust, repair cracks and lightly wet the wall. Mix putty with clean water to a lump-free, smooth paste. Apply the first thin coat with a putty blade in upward strokes, let it dry, then sand gently. Apply a second coat across the first, dry, sand again, wipe off dust and follow with a primer.
What are the steps to apply wall putty?
Most walls need two thin coats of putty for a smooth, even surface. The first coat fills pores and minor dents, while the second levels the surface and covers blade marks. Very uneven or old walls may need a third touch-up coat in patches. Avoid building up thick layers in one go, as heavy putty can crack or peel over time.
How long should wall putty dry before painting?
Each coat of putty usually needs several hours to dry, and the final coat should be left to dry thoroughly before sanding and priming. Drying slows down in humid monsoon weather, so allow extra time and keep the room ventilated. Always check the manufacturer's label, and never paint over putty that still feels cool or looks patchy in colour.
What precautions should be taken while applying wall putty?
Never apply putty on damp, oily or seepage-affected walls, as it will lose adhesion and flake. Mix only as much as you can use within the working time, and don't add extra water to revive hardened putty. Wear a mask while sanding, keep coats thin, and apply primer afterwards so the paint bonds evenly and doesn't absorb patchily.
What common mistakes should beginners avoid with wall putty?
Beginners often apply one thick coat to save time, which leads to cracks and uneven drying. Skipping sanding between coats leaves ridges that show clearly under paint. Another mistake is painting directly on putty without primer, causing patchy finishes. Also avoid working in direct harsh sunlight or rain, as rapid or slow drying weakens the putty layer.
Is wall putty needed for both interior and exterior walls?
Putty is most commonly used on interior walls to create a smooth base for emulsion paint. For exterior walls, use only putty specifically designed for outdoor use that can handle moisture and temperature changes. Many exteriors are instead finished with a suitable exterior primer and paint, or texture coats. Choose the right product for the surface and local weather conditions.


Get in Touch
Looking for something else? Drop your query and we will contact you.
Latest Happenings in the Paint World
Get some inspiration from these trending articles




Popular Post
Popular Searches
What’s Trending in Bedrooms
Explore Trending Living Room Ideas
- Living Room Colour Combination
- Modern Two Colour Combination for Living Room
- Wall Texture for Living Room
- Vastu Colours for Living Room
- Wall Texture Design for Living Room
- Living Room Paint Ideas
- Living Room Design Ideas
- Paint Colour Ideas for Living Room
- Living Room TV Wall Designs
- Green Living Room Walls
Kitchen Ideas People Love
Explore Trending Ceiling Ideas
Study Room Ideas in Demand
Explore Wall Paint Categories
Handpicked Colour Inspirations
- Accent Wall Design
- Bedroom Design Ideas
- Exterior Wall Colour Design Ideas
- Interior Wall Colour Design Ideas
- Kitchen Design Ideas
- Living Room Interior Design
- Geometric Wall Design Ideas
- Home Colour Combination Ideas
- Home Décor Ideas
- Mural Wall Paint Design Ideas
- Office Space Design Ideas
- Puja Room Design Ideas
- Texture Design Ideas
- Festival Painting Ideas
- Paint Colour Chart
- Wall Painting Designs
- Wood Wall Décor Ideas
- Mural Wall Paint Design
- Hall Design Ideas
- Gate Colour Design
- Exterior Wall Colour Design
- Door Colour Design Ideas
-
 Get in Touch
-
Store Locator
-
 Download App
×
Get in Touch
Looking for something else? Drop your query and we will contact you.

